

Category: Web Development · Process Guide · 13 min read
Published: June 11, 2026 · Last updated June 2026
Featured Image by pressfoto on Magnific.
In This Article
- Step 1: Discovery and Requirements
- Step 2: Planning and Information Architecture
- Step 3: UI/UX Design
- Step 4: Content Creation
- Step 5: Development and Coding
- Step 6: Testing and Quality Assurance
- Step 7: Launch and Maintenance
- Frequently Asked Questions
Understanding the steps of web development is the difference between a smooth project and a costly mess. Too many websites blow their budget, miss deadlines, or launch as something nobody actually asked for. Almost always, the culprit is the same: rushing or skipping the early phases. A structured process fixes that. It protects your timeline, controls your spend, and keeps everyone aligned from the first meeting to launch day.
This guide breaks the website development process into seven practical steps. The framework applies whether you’re building a simple marketing site or a complex web application. Each phase produces clear deliverables, so you always know what to approve before moving forward. Follow it closely, and you’ll avoid the expensive rework that sinks so many projects.
Step 1: Discovery and Requirements
Every strong website starts with questions, not code. This first phase exists to define why the site should exist and who it serves. Skip it, and the whole project can drift in the wrong direction before anyone writes a line of HTML.
Define the Purpose
Begin by pinning down the goal. What job should this website do? Common answers include generating leads, driving sales, sharing information, or enabling bookings. Clear goals shape every decision that follows, so treat this as the foundation of the build.
Understand the Audience
Next, get to know the people you’re building for. User research through surveys, interviews, and simple personas reveals what your visitors actually need. Because of that insight, you avoid guessing later when the stakes are higher.
Document the Scope
Finally, map out the requirements. List the pages, features, and integrations the site needs to hit its goals. Capture all of it in a short requirements document that stakeholders sign off on. That single deliverable becomes your reference point for the entire project and prevents scope creep down the road.
Step 2: Planning and Information Architecture
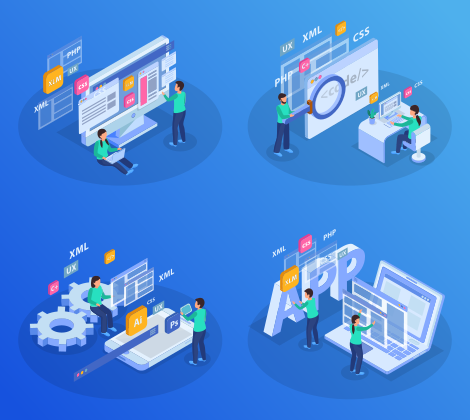
With requirements locked, the next of the web development stages turns strategy into structure. Planning is where you decide how the site is organized and which technology will power it. Good planning here saves painful rebuilds later.
Build the Sitemap and User Flows
Start by mapping every page and how they relate. A sitemap shows the hierarchy at a glance, while user flow diagrams trace how visitors move from entry point to conversion. Together, these blueprints keep navigation logical and prevent dead ends.
Choose the Technology Stack
Then comes the technical direction. You’ll decide between a content management system and a custom build, pick a frontend framework, and settle on a backend language and hosting setup. Many teams favor well-documented, widely supported technologies, and Node.js remains a popular choice, used by roughly 41% of developers. Familiar tools are easier to maintain over time.
Set the Timeline
Lastly, lay out realistic milestones. A clear schedule with approval points at each stage keeps the project moving and reduces surprises. Deliverables from this phase include your sitemap, user flow diagrams, a technology recommendation, and a project timeline.
Step 3: UI/UX Design
Design is where your website starts to look and feel real. This phase shapes how visitors experience the site, so it deserves careful attention. Strong UI/UX design can lift conversion rates dramatically, which makes it one of the highest-leverage steps in the process.
Wireframes First
Always begin with wireframes. These low-fidelity layouts map out content placement and interaction patterns without color or polish. Because they’re quick to change, wireframes let you settle structure before investing in visuals.
Visual Design and Prototyping
Once the skeleton is approved, visual design brings it to life. Designers apply brand colors, typography, imagery, and interface elements to create high-fidelity mockups. Interactive prototypes then let stakeholders click through the experience before development begins.
Design for Everyone
Two principles guide modern design work. First, design mobile-first, starting with the smallest screen and scaling up. Second, build in accessibility from the start, since WCAG 2.2 AA compliance is now the default legal expectation for commercial sites in the US and EU. Deliverables include wireframes, polished mockups, and a reusable design system.
Step 4: Content Creation
Content is easy to overlook, yet it’s what visitors actually come for. Ideally, content development runs alongside design rather than after it. When words and layout evolve together, the finished pages feel cohesive instead of stitched together.
If you are interested in knowing more about giving that boost to your content (HINT: It’s SEO we are talking about!), then you can check out this page here.
Prepare Every Asset
Gather all the content types your site needs. This includes page copy, blog posts, product descriptions, images, and video. Preparing these early means designers work with real material, not placeholder text that hides layout problems.
Weave in SEO
Search optimization belongs in this phase, not as an afterthought. Fold keyword research into your page titles, headings, and body copy from the start. Doing so gives each page a fighting chance to rank the moment it goes live. Keep your assets organized in a shared system with clear naming and version control, and finish with an SEO metadata sheet ready for the build.
Step 5: Development and Coding
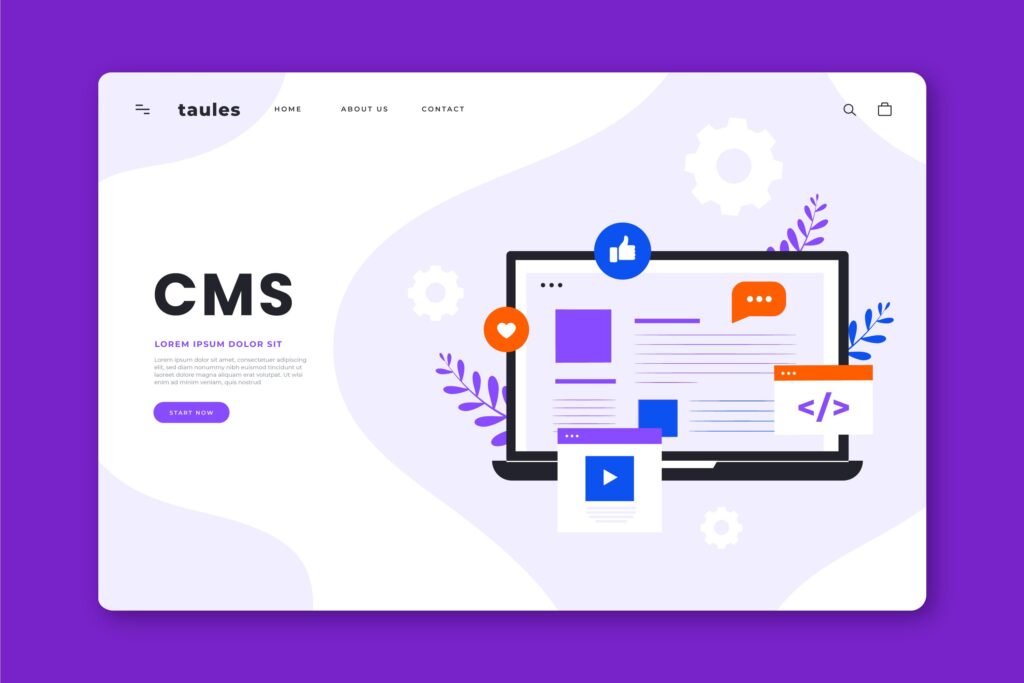
Now the site gets built for real. Development is where designs and content become a working website through code. This phase splits into two connected halves, each with its own focus. Image by macrovector on Magnific
Frontend Development
The frontend is everything visitors touch. Developers translate the approved designs into responsive, interactive interfaces using HTML, CSS, and JavaScript. Their goal is a site that looks right and responds quickly across every device and screen size.
Backend Development
The backend runs quietly behind the scenes. It handles server logic, databases, APIs, authentication, and the data exchanges that power the site. Common backend languages and frameworks include PHP, Python, Ruby on Rails, and Node.js, chosen for speed, security, and scalability.
Integrations and Version Control
Two practices keep this phase clean. Define clear data contracts between frontend and backend so updates don’t break things. Plan integrations, such as your CRM, analytics, and marketing tools, early rather than bolting them on later. Throughout, use Git for version control so the team can collaborate and track every change safely.
Step 6: Testing and Quality Assurance
Testing protects your launch from painful surprises. Quality assurance isn’t a last-minute typo hunt; it’s a structured process that confirms the site behaves exactly as the business expects. A repeatable checklist keeps this phase thorough and consistent.
Core Testing Types
Cover every angle before going live:
- Functional testing: confirm that links, buttons, forms, and features all work as intended.
- Cross-browser testing: check performance across Chrome, Firefox, Safari, and Edge.
- Responsive testing: verify the site looks and works well on mobile, tablet, and desktop.
- Security testing: review SSL, input validation, and access controls.
- Accessibility audit: test against WCAG 2.2 AA standards.
Don’t Forget Performance
Speed is now a ranking factor, so performance testing matters more than ever. Google’s Core Web Vitals set the bar: aim for a Largest Contentful Paint of 2.5 seconds or less, an Interaction to Next Paint under 200 milliseconds, and a Cumulative Layout Shift below 0.1. Pages that miss these thresholds can lose rankings fast. Run an end-to-end test on your main conversion paths, then log every issue until it’s resolved.
Step 7: Launch and Maintenance
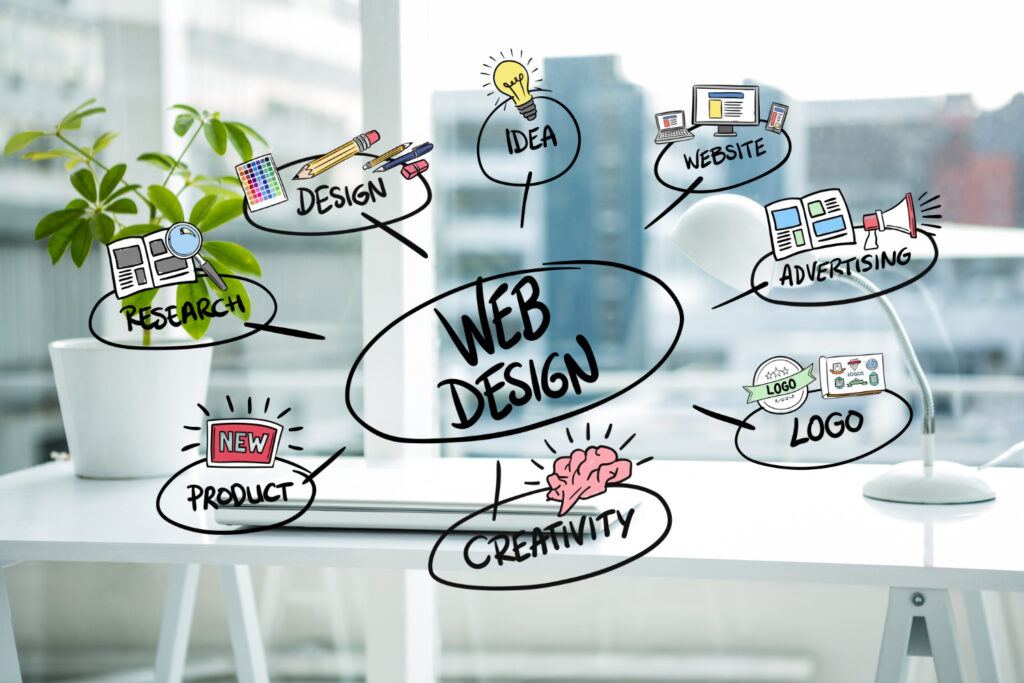
Launch day is the payoff, but treat it as a sequence rather than a single click. A modern launch spans a window of pre-launch hardening, cutover, and post-launch monitoring. Careful execution here keeps that big moment refreshingly boring.
Before You Go Live
Work through a pre-launch checklist first. Configure DNS, activate SSL, set up 301 redirects from old URLs, and confirm analytics and conversion tracking fire correctly. Freeze non-critical code changes in the final 24 hours, take a full database backup, and keep a rollback plan on screen. Schedule the cutover for a weekday morning, never a Friday afternoon.
After Launch
The work continues once the site is live. Monitor for broken links, form errors, and server issues in real time. Beyond launch day, ongoing maintenance keeps the site secure and healthy through regular updates, security patches, and fresh content. Use your analytics to spot improvements, run A/B tests, and refine the experience based on how real visitors behave.
Bringing It All Together
The steps of web development follow a clear, logical order for good reason. Discovery defines the goal, planning maps the structure, design shapes the experience, content fills it with value, development builds it, testing proves it works, and launch puts it live with a plan to keep improving. Each phase feeds the next, so shortcuts early on tend to surface as expensive problems later.
Here’s the one lesson worth remembering. Invest the most care in the early phases, discovery, planning, and design, because that’s where the highest-impact decisions get made. Fixing a flawed idea in a wireframe costs almost nothing. Fixing it after launch costs a fortune. Follow the process, approve each stage deliberately, and you’ll ship a website that actually earns its place.
Frequently Asked Questions
How long does the web development process take?
Timelines depend heavily on scope. A simple marketing website might take a few weeks from start to launch, while a complex enterprise application can run several months. The biggest variables are the number of pages and features, the amount of custom design, and how quickly stakeholders approve each phase. Modern design tools and AI assistants can compress the design and prototyping stages, but discovery and testing still need proper time to avoid costly mistakes.
How much does it cost to build a website in 2026?
Cost varies widely based on complexity. Pricing hinges on the number of features, design sophistication, third-party integrations, and your chosen technology stack. A basic template-based site sits at the low end, while a custom-built application with advanced functionality reaches far higher. The smartest approach is to define your scope clearly in the discovery phase first, since a well-documented plan gives you an accurate estimate and prevents budget-draining surprises later.
Should I use a website builder or hire developers?
It comes down to your goals and resources. Website builders and templates work well for simple sites with standard needs and a tight budget. Custom development makes sense when you need unique features, specific integrations, or room to scale. For business-critical or complex projects, hiring a development agency or team usually delivers better long-term results, since experts handle planning, security, and performance you might otherwise miss.
What’s the difference between frontend and backend development?
They handle two different sides of the same site. Frontend development builds everything visitors see and interact with, using HTML, CSS, and JavaScript to create responsive, engaging interfaces. Backend development powers the machinery behind the scenes, including servers, databases, APIs, and application logic. A complete website needs both working in sync, which is why defining clear data contracts between them is such an important development practice.
Why is testing so important before launch?
Testing catches problems while they’re still cheap to fix. Research suggests most users won’t return to a site after a bad experience, so broken links, slow pages, or form errors directly cost you customers and trust. A structured QA phase verifies functionality, responsiveness, security, and performance across devices and browsers. Skipping it is a gamble no business should take, because a flaw discovered by real users is far more damaging than one caught in testing.
Does web development ever really “finish”?
Not really, and that’s a good thing. Launch is a milestone, not the end. A live website needs ongoing maintenance to stay secure, fast, and relevant, including software updates, security patches, and fresh content. Beyond upkeep, the best sites keep improving through analytics review and A/B testing. Treating your website as a living asset rather than a one-time project is what keeps it performing over the long run.
This article reflects web development standards and best practices current as of mid-2026. Tools, frameworks, and technical benchmarks evolve quickly, so treat specific figures as a snapshot rather than a fixed rule.
